How to create USB Boot stick for ESXi
The Intel NUC has become a popular device for a variety of use cases. It’s quite a powerful little box that can be used as a regular Windows/Linux machine, a Home Theater PC (HTPC), or a techie Test/Dev box for many different types of software, including VMware ESXi - and even vSAN! This will be a short blog post on setting up a USB boot stick for the installation of ESXi on a SanDisk Ultra Fit 16GB USB. The process used here can be put towards any other OS as well.
Obtain ISO Image
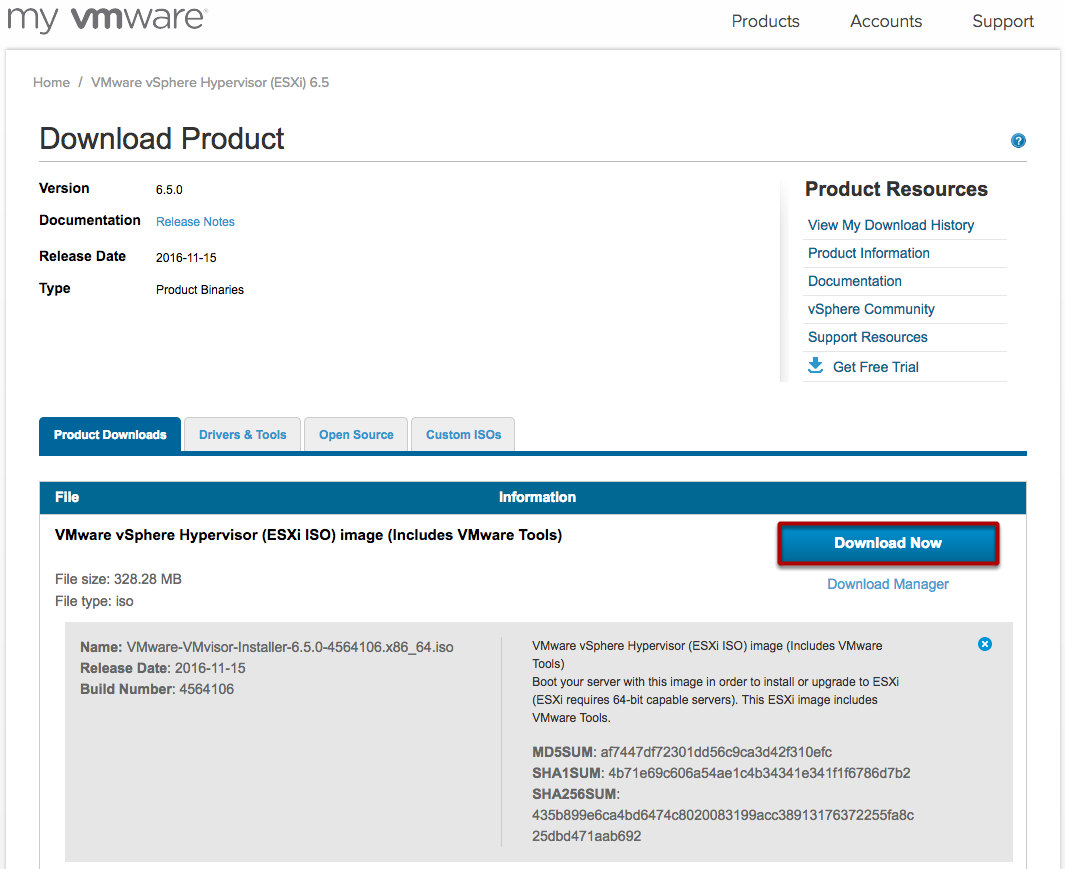
Download the ESXi 6.5.0 Image
Once you’ve downloaded the ISO, you’ll need a tool that is capable of creating a bootable USB stick from an ISO image.
Bootable USB Creation Tool

UNetbootin
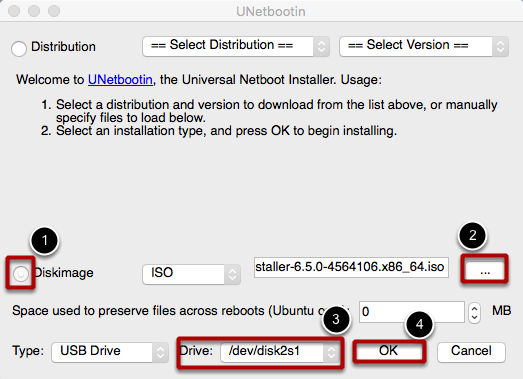
Although the tool supports a very large number of Distributions, it also gives you the ability to choose a Diskimage
Prepare a FAT MBR formatted USB stick
- Click Diskimage
- Click the browse elipses and select the ESXi
- Make sure that the correct Drive has been selected : WARNING - THIS WILL OVERWRITE THE CONTENTS OF YOUR USB STICK!
- Click OK
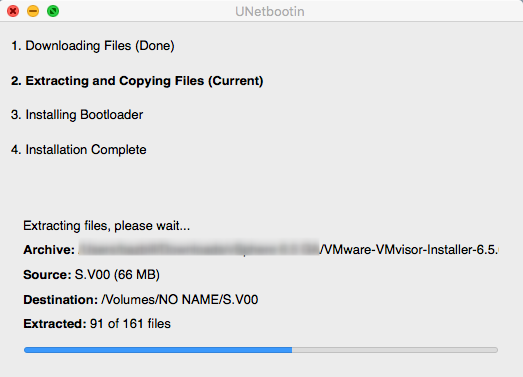
The installer should not take very long to extract the necessary files and load them to your USB Stick.
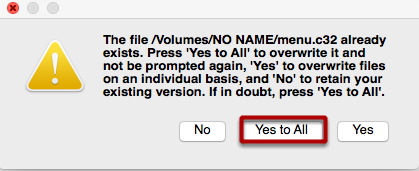
Ready
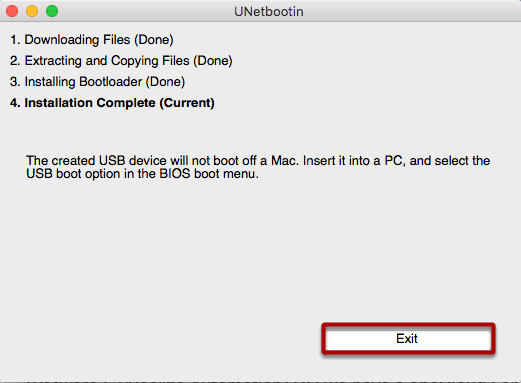
Once the process has completed, Click EXIT and eject your USB device. It is now ready to be used to boot a system capable of booting from USB drive.
