Lifecycle Manager Reports made Excel Friendly
Have you ever tried opening a VMware Lifecycle Manager (LCM) report.xml file with Excel? Probably didn't have much luck, right? The following brief tutorial will walk you through the steps necessary to make these reports generate XML files that can be opened by Excel (Disclaimer: I did my tests with Excel 2007.) Please click the Read More link to see the rest of this article.
Finding the Report Workflows and Editing them
To get started, you will need to launch your vCenter Orchestrator Client. Once you have logged into the vCO client and connected to your LCM server, perform the following steps:
- Click the "Workflows" section in the left pane
- Expand out to: Applications -> Lifecycle Manager -> Report -> Report workflows
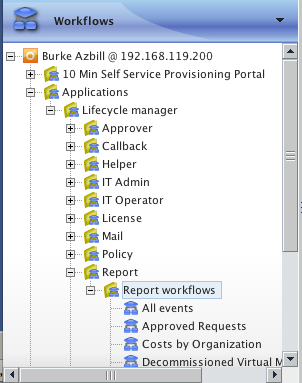
- Select the Report you wish to modify
- Right-Click on the report and select "Export" so that you can have a backup copy of the workflow
- Now, right-click and select Edit
- Once you are in Edit mode, click on the "Schema" tab in the right pane and select the "Generate report file in xml" Scriptable Task (the middle rectangle)
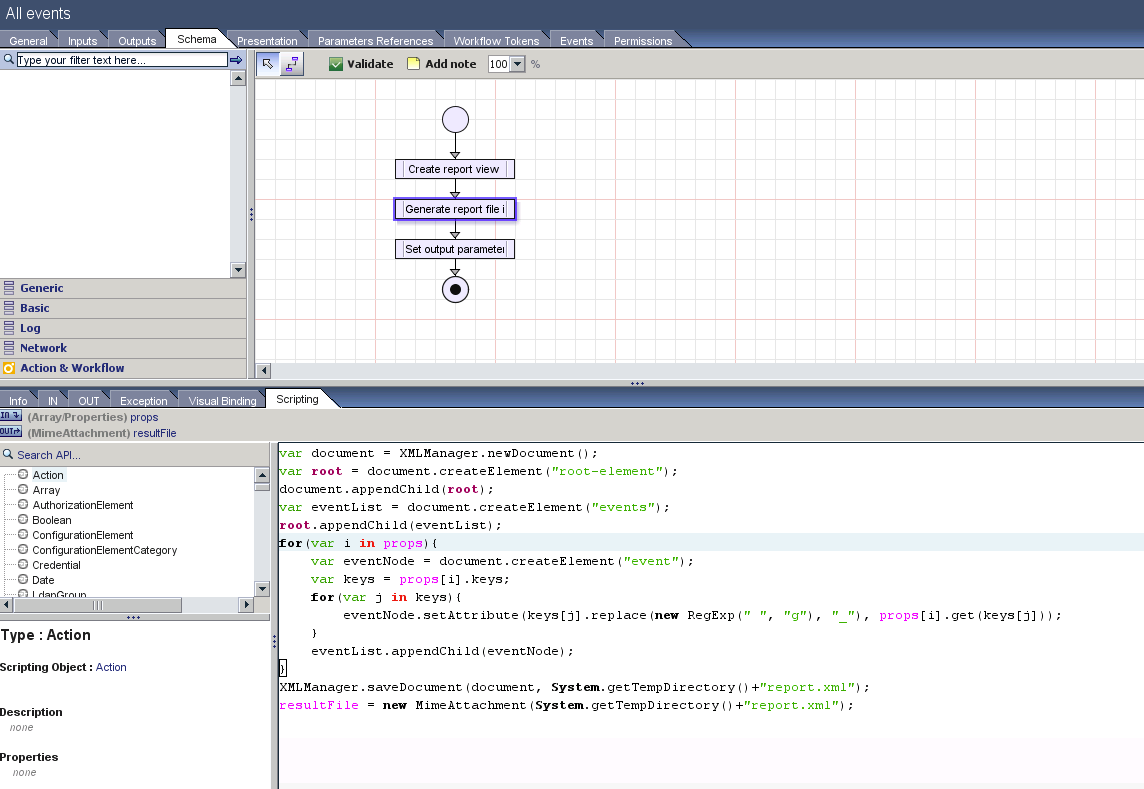
- Now click the "Scripting" tab in the bottom of the window
- Select all the contents of that Scripting box and delete them.
- Now, Copy the following and paste it into that box:
 1
 2
 3
 4
 5
 6
 7
 8
 9
10
11
12
13
14
15
16
17
18
19
20
21
22
23
24
25
26
27
28
29
30
31
32
33
34
35
36
37
38
39
40
41
42
43
44
45
46
47
48
49
50
51
52
53
54
55
56
57
58
59
60
61
62
/* Begin custom code to replace the standard Generate XML Report File scripting contents */ var document = XMLManager.newDocument(); var workbook = document.createElement("Workbook"); workbook.setAttribute("xmlns","urn:schemas-microsoft-com:office:spreadsheet"); workbook.setAttribute("xmlns:o","urn:schemas-microsoft-com:office:office"); workbook.setAttribute("xmlns:x","urn:schemas-microsoft-com:office:excel"); workbook.setAttribute("xmlns:ss","urn:schemas-microsoft-com:office:spreadsheet"); workbook.setAttribute("xmlns:html","http://www.w3.org/TR/REC-html40"); document.appendChild(workbook); var worksheet=document.createElement("Worksheet"); worksheet.setAttribute("ss:Name","report.csv"); workbook.appendChild(worksheet); table = document.createElement("Table"); // Setup Column Headers: System.log("Setting up column headers"); if(props.length > 0){ var row = document.createElement("Row"); for each (key in props[0].keys){ cell = document.createElement("Cell"); data = document.createElement("Data"); data.setAttribute("ss:Type", "String"); try { System.log("Key: "+key.toString()); data.textContent=key.toString(); } catch(e) { System.debug(e); } cell.appendChild(data); row.appendChild(cell); } table.appendChild(row); } for(var i in props){ var keys = props[i].keys; System.log(keys); var row = document.createElement("Row"); for(var j in keys){ //System.log(keys[j]); cell = document.createElement("Cell"); data = document.createElement("Data"); data.setAttribute("ss:Type", "String"); try { data.textContent=props[i].get(keys[j]).toString(); } catch(e) { System.debug(e); } cell.appendChild(data); row.appendChild(cell); } table.appendChild(row); } worksheet.appendChild(table); XMLManager.saveDocument(document, System.getTempDirectory()+"report.xml"); resultFile = new MimeAttachment(System.getTempDirectory()+"report.xml"); /* End custom Generate XML Report File code */ - In the bottom-right corner, click "Save and Close" (NOTE: It is recommended that you Increment the version number prior to save and close)
- Now go login to your LCM webview and run the report you chose (I chose the All Events) report for my example here
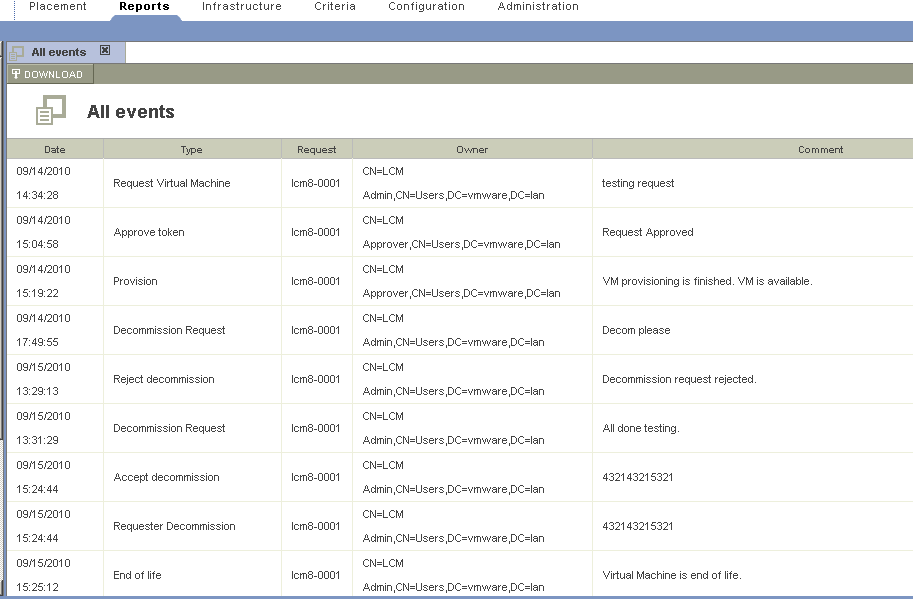
- Once you have executed the report, click the "Download" button to download the report.xml file
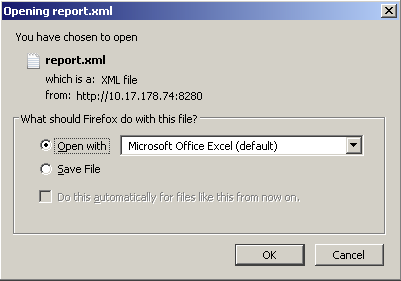
- Now Open the report.xml file with Excel
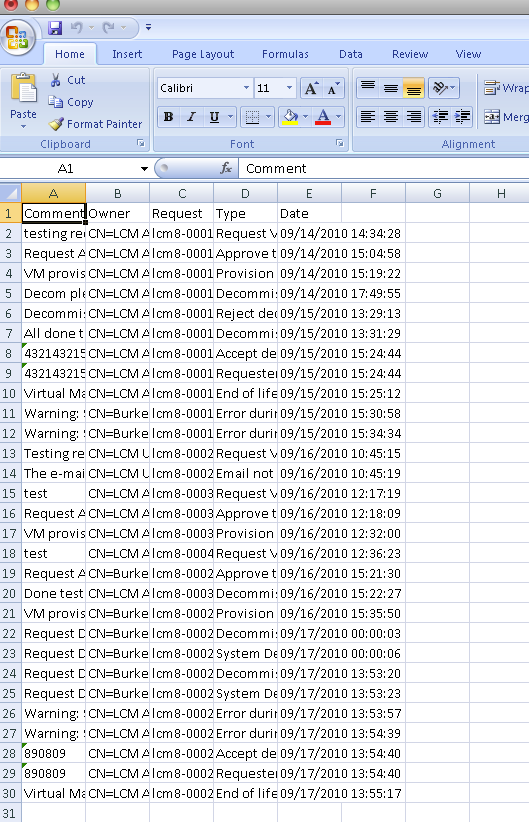
- Adjust Column Widths as needed and maybe BOLD the first row as that row contains the column headers
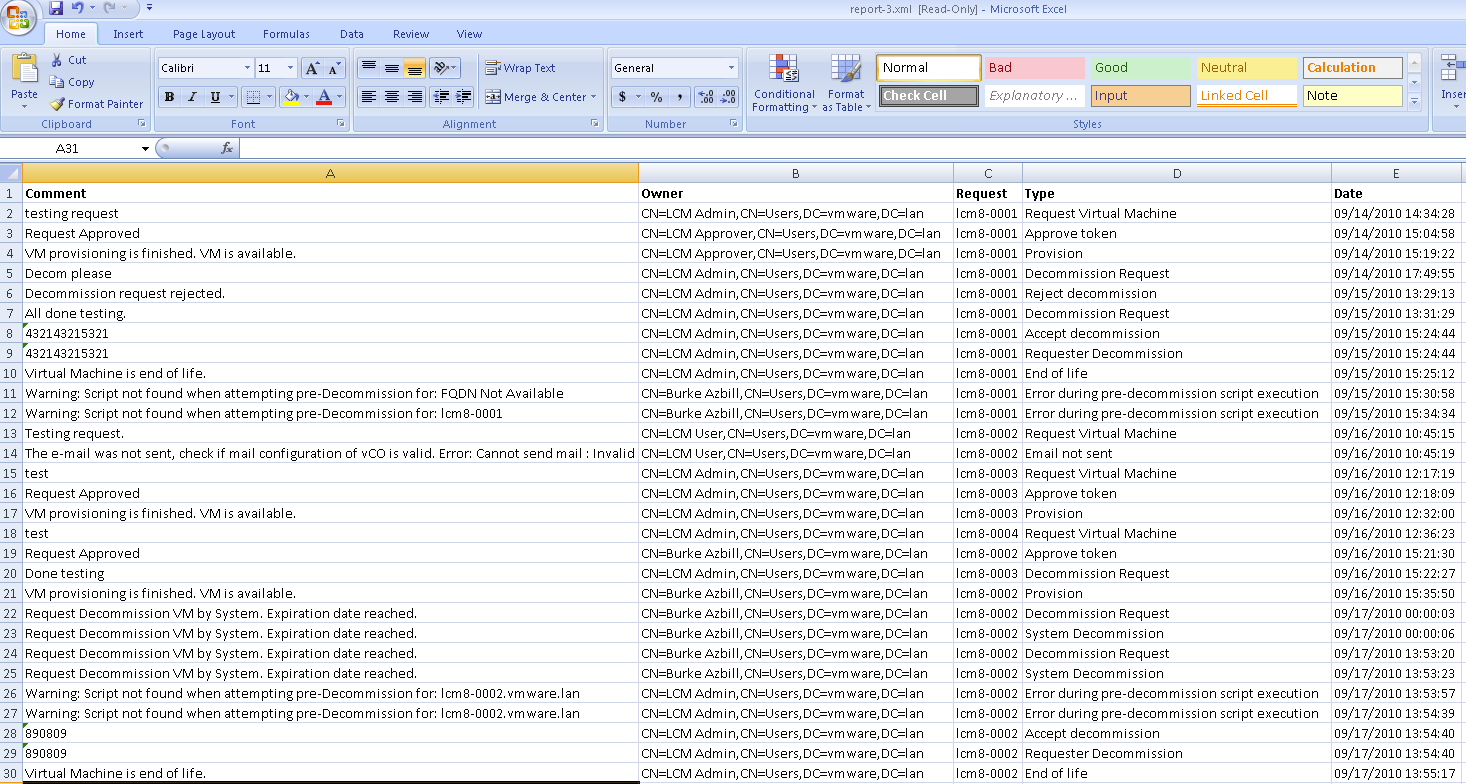
As you can see from the screenshot above, Column Headers are automatically generated and the appropriate data is shown in each column. You may now use Excel to re-order/hide columns, sort, etc.
WARNING: Changing Core workflows as outlined above is not supported by VMware. So, if you make these changes and the report stops working, then it's on you to fix. Best fix would be to DELETE the broken workflow, Highlight the "Report Workflows" Category in the vCO client, and then IMPORT your backup copy of the core Report Workflow.

