Getting Started With Perspectives Webview
Getting started with Perspectives Webview
If you have been following VMware vCenter Orchestrator (vCO) for a while, it is likely that you have already seen the Perspectives webview in action. It has been used in one or more vCO demos as a web-based interface to launch a specific set of workflows. A web-based interface for launching workflows is a common requirement in organizations and likely a more secure method.
What is Perspectives? How can you start using it? Learn more in our previous article: VMware Labs released the Perspectives Plug-in
Read on to learn how to install, configure, and use the Perspectives Web View!
Overview
Perspectives provides a clean, consistent interface that may be used to present a limited number of workflows for execution. It is a plug-in that consists of:
- Database
- Webview
- Workflows
- Actions
The database stores various details surrounding each of the Perspectives you have created, things like LDAP Group, which workflows the group has access to, etc... The Webview presents the appropriate workflows in the form of Task lists to members of the LDAP groups with access to those workflows. Actions provide scripting support to the workflows and webview.
Now that you have a general idea of what Perspectives provides, it's time to get it installed and ready to use!
INSTALLATION
- Download and Install the Perspectives Plugin
Link: http://labs.vmware.com/flings/perspectives-plug-in-for-vcenter-orchestrator
-
- Login to http://yourvCOserver:8282 as vmware / vmware if you have not changed the default password
- Click on the Plug-in tab in the right pane
- Browse for and upload the Perspectives dar file, then click the Apply Changes button in the bottom-right corner of the right pane
- Click on Perspectives in the left pane, then Configure Perspectives plugin database for “Same as vCO” and Apply Changes. (you may optionally create a separate database for perspectives if you wish.
- Restart the vCenter Orchestrator Server service to complete plugin installation
- Initialize the system by logging in as a vCO Admin to:
http://yourVCOserver:8280/vmo/perspectives/default.html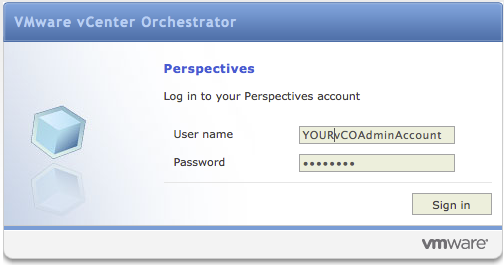
- Upon login, you'll be prompted to Create your first perspective - click that link to get started
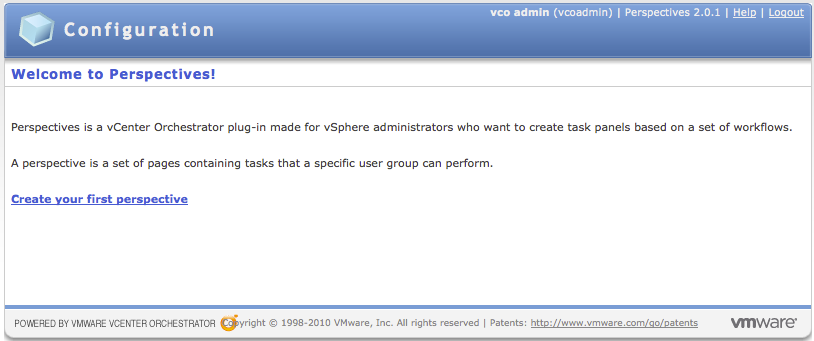
- Give the perspective a name - Admin Workflows would be appropriate since non-vCO admins cannot be assigned permission via the default library workflows without modification.
- Choose your vCO Admin Group, and specify one or more Workflows. For this example, I'll specify the Enter maintenance mode, Exit maintenance mode, Suspend virtual machine and wait, and Start virtual machine and wait workflows
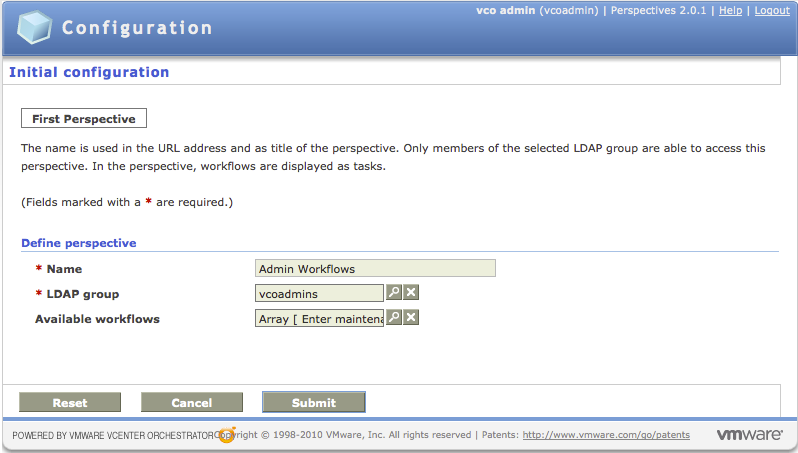
- Click Submit. The Web view will automatically restart, requiring you to log back in.
- Upon login as a vCO Admin, you'll be presented with the All perspectives view:
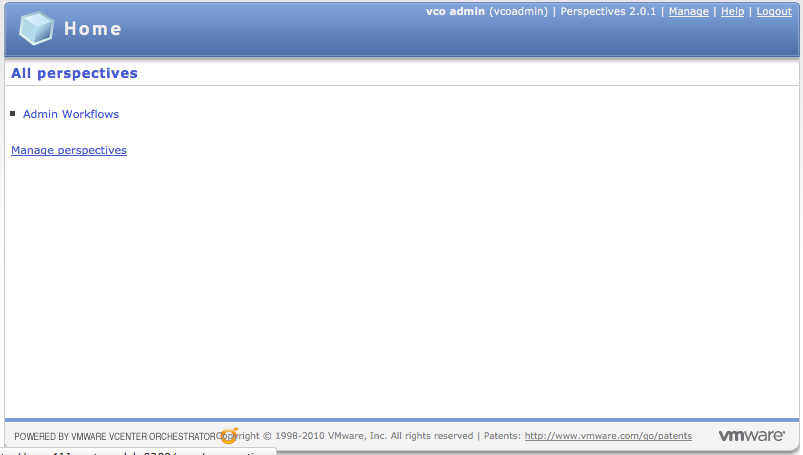
The all perspectives view presents you with a list of all the perspectives that have been created so far. Additionally, it provides a link to "Manage perspectives" at the bottom of the list and a "Manage" link in the top bar at the right of the screen.
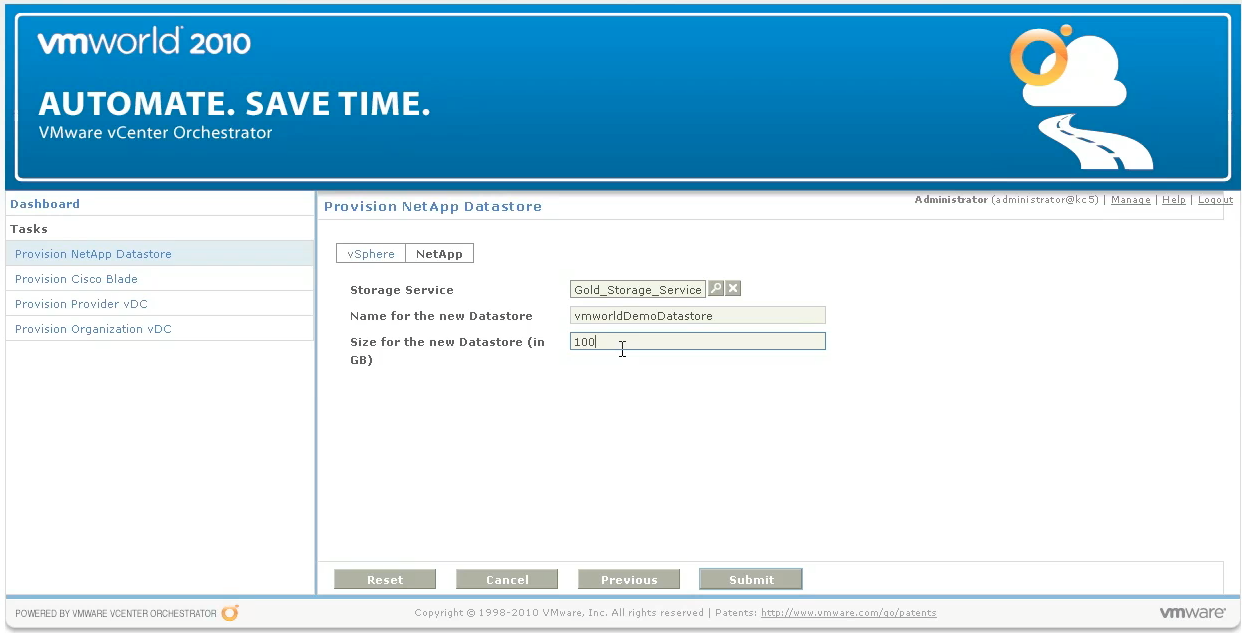
Reminder: Using these links within the interface to create new perspectives results in admin-only perspectives as the permissions are not properly assigned to other LDAP groups unless core workflows are modified. Instead, stay tuned for our upcoming artcile on Creating Custom Perspectives. - Choose the Perspective you wish to use and click it to load the Perspectives Dashboard:
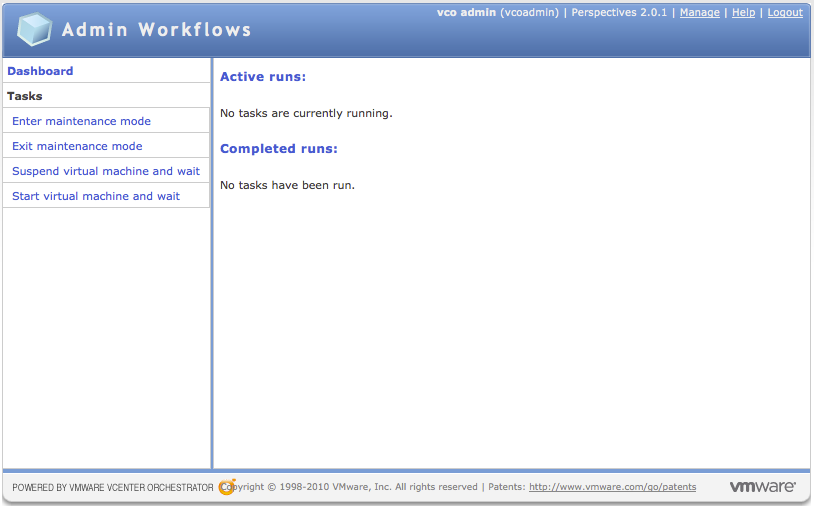
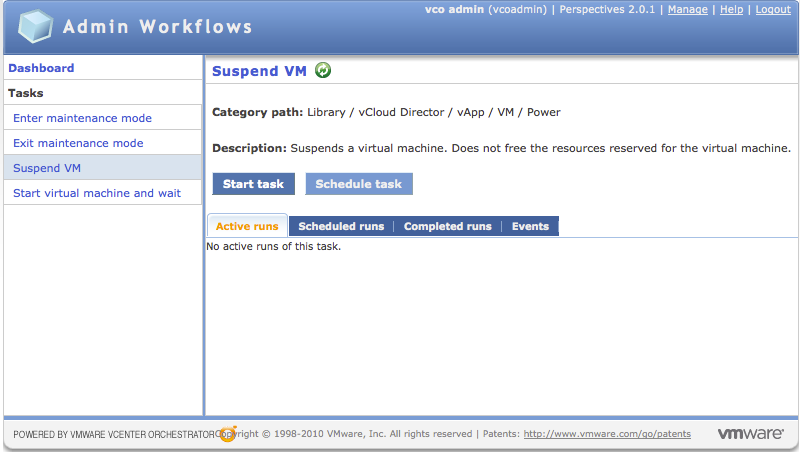
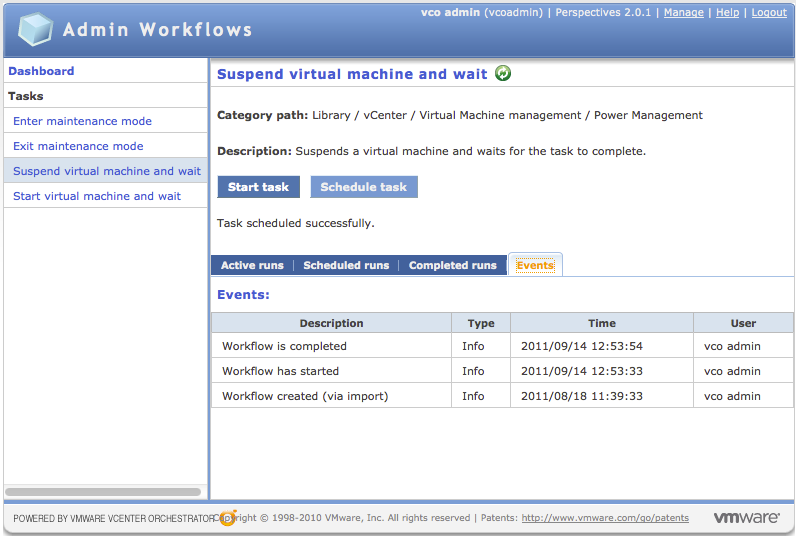
Each Perspective Dashboard is a two-paned view as shown above. The left pane lists the Tasks (Workflows) that are available for the user to execute. The right pane provides details on the selected task and options to:
- Start Task
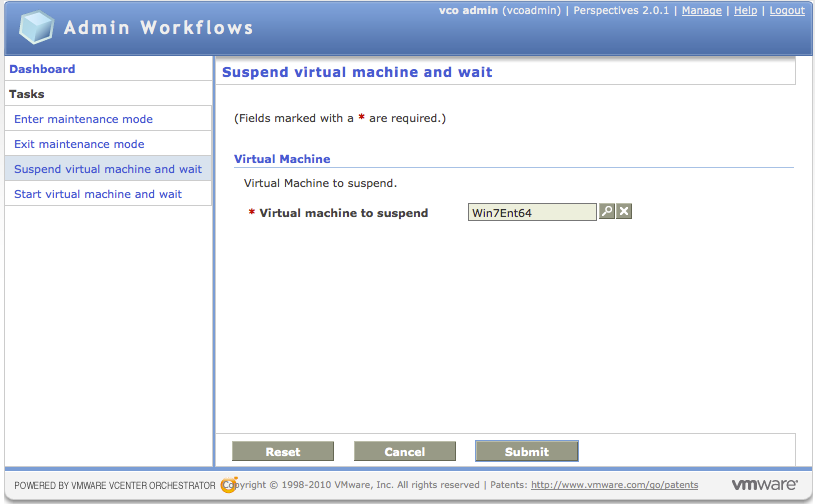
This screen provides you with a form to fill in the workflow inputs. Upon clicking the Submit button, the workflow is executed immediately.
- Schedule Task
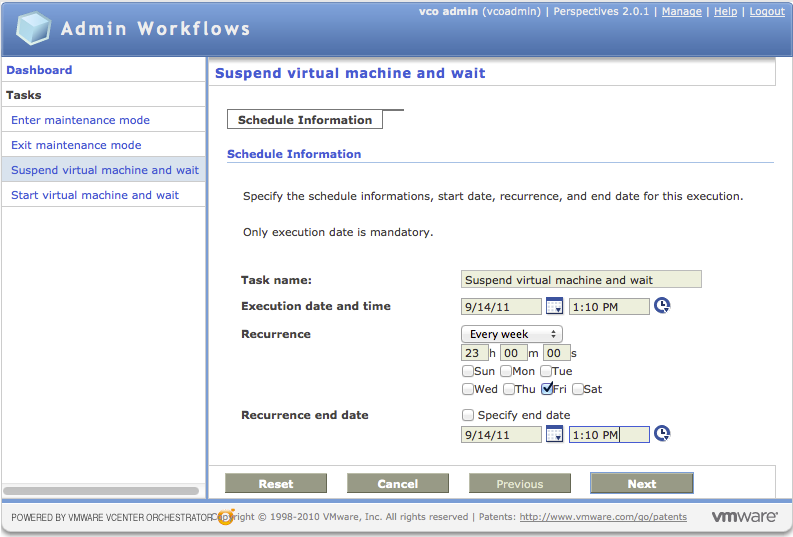
This screen provides you with a form with a variety of scheduling options. After clicking next, you are presented with the form to provide the workflow inputs (see Start Task above). Upon clicking submit, the workflow will be scheduled as specified. (see Scheduled runs below)
- Active Runs
If the workflow is actively running, this screen will display details of that execution.
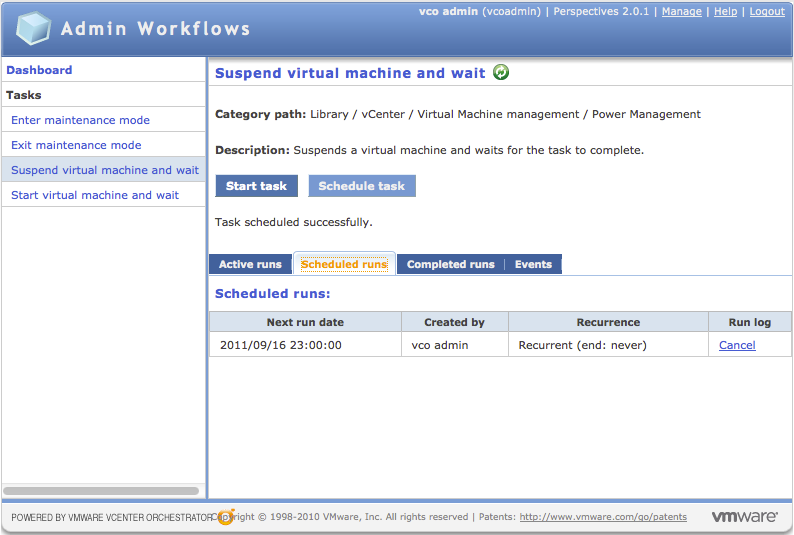
- Scheduled runs
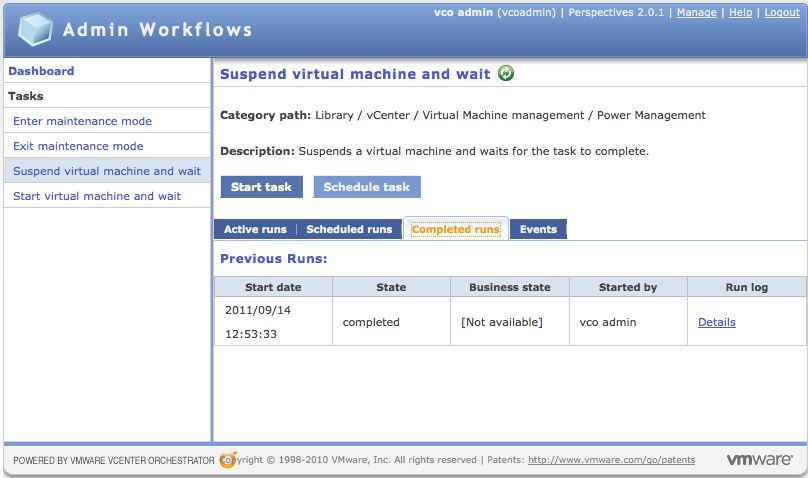
- Completed runs
- Events
Your first perspective is now operational! Congratulations! If you wish to Edit, Remove, Clone, or Create additional Administrative Perspectives, read-on.
Perspectives Management
At the top right corner of the Perspectives page is a "Manage" link that takes you in to the Perspectives Management Dashboard.
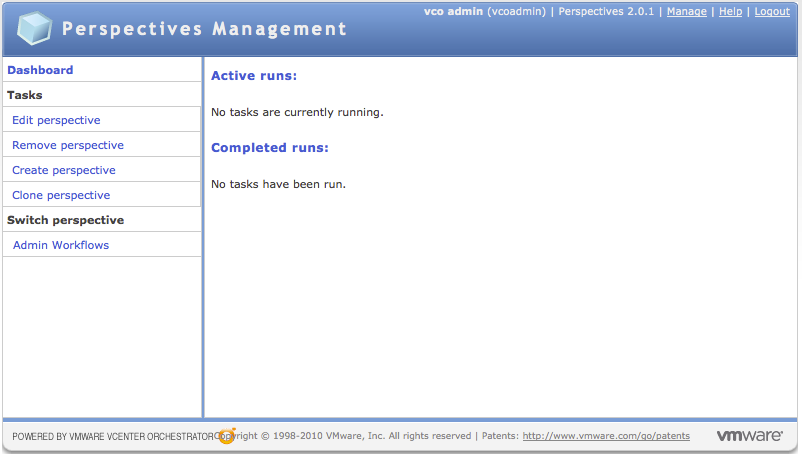
Each of the tasks shown above are similar to the tasks that were shown earlier; they are each workflows. These workflows create or modify perspectives. In our earlier example, you may want to go back in and remove a few workflows or add some additional ones to the Admin Workflows perspective. This management interface will allow you to do just that.
This article has covered the installation and configuration of the Perspectives webview. In the next article on Perspectives, you'll learn how to create your own custom initialization workflow that will help you deliver a Perspectives based web interface to your clients for custom workflows that you are delivering to them. In the resulting Perspectives, you'll have an Admin interface used by client administrators to set general configuration settings around the solution and you'll have a User interface that allows the client end-users to launch your workflows!
