Expand your vCO library with Onyx
vCO is shipped with a large library of actions and workflows for the most common vCenter operations. However since vCenter is extremely rich in terms of features and you may have been in the situation where there is no action or workflow for a given vCenter Operation. Thanks to vCO vCenter plug-in exposing the entire vCenter API as javascript objects and methods you can always explore its API documentation and craft your own actions and workflows. As of a few months ago there is a more efficient solution allowing to record vCenter operations and export them as scripts that can be copied and pasted in vCO actions and workflows. This solution is a free tool called Onyx available on VMware labs. The following article is a tutorial covering:
- Basic usage of Onyx to capture vCenter operations and export them as vCO scripts.
- Creation of a workflow to test the captured script.
- Usage of the API search
- Usage of the vCO inventory to start the workflow.
- Creation of an action to expand your vCO library
Getting the script with Onyx
If you do not have it already you can download and install Onyx. You can install Onyx either on your vCenter server or a separate system.
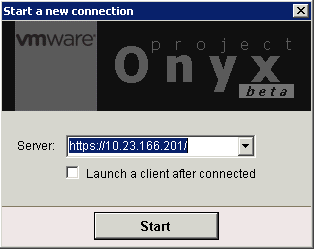
Click on the following icon.

Enter the URL of your vCenter Server (if you are not sure copy and paste it from the vSphere Client). Click Start
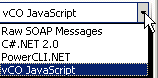
Next select vCO Javascript for output
Onyx will display the current status. The first hostname / IP address and port is your vCenter server, the second one is the Onyx server. To capture the vCenter Operations Onyx acts as an HTTP proxy server between your vSphere Client and the vCenter Server. These communicate with a web service protocol named SOAP. The SOAP messages can be captured and Onyx can translate them to different formats including vCO javascript as selected above.

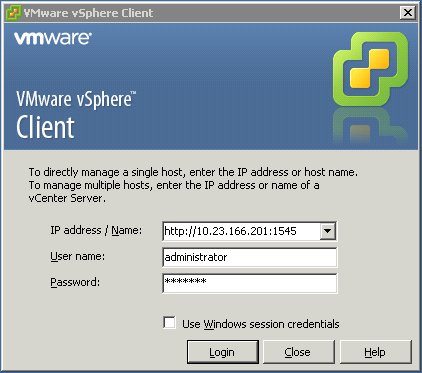
Now you need to connect with your vSphere client. In the IP address / name field change your regular vCenter references by the ones of the Onyx as displayed on the Onyx status bar ("running at a.b.c.d:xyz"). You also need to provide your authentication credentials so Onyx can pass them to vCenter.
Once you are in vCenter and ready to run the operation you want to record press the play button below.

In my case I need to create an action or workflow to turn on Fault tolerance since it is not in the library. Looking for faultTolerance in the vCO API explorer did not get me any method that I could use. Run the operation to record.

Onyx processes the capture and displays the script I have been looking for. The method is in fact called createSecondaryVM_Task called on a managedObject identified as being a virtualMachine object. Copy the script to the clipboard.

Create a test workflow for this script
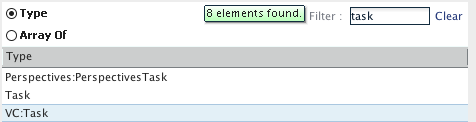
In vCO create a new workflow. This will be our test base for the captured script. I have called it "Turn On Fault Tolerance". Edit the workflow. As a best practice set an initial version number and a description. From the palette drag and drop a scriptable box on the schema. Name it "createSecondaryVM". Before writing the script we are going to check on the method. Click on the Search API magnifier.

Type in "createSecondaryVM" as below.
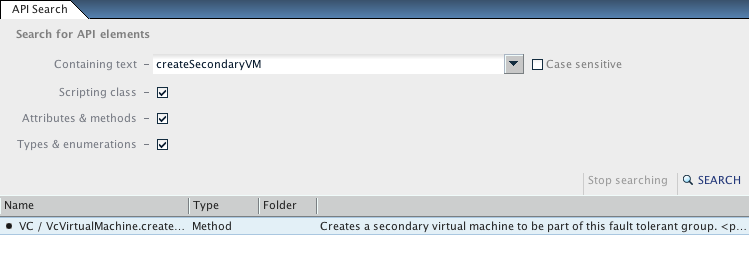
We can check here that the method applies to a Virtual Machine object and that it returns a VcTask Object.
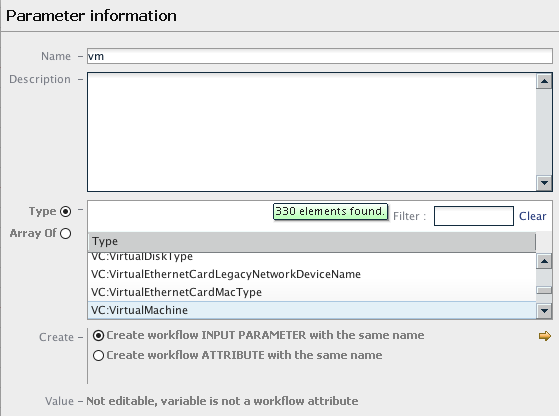
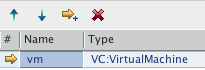
Click on the scriptable box "IN" tab. Create a new input parameter named vm of type VC:VirtualMachine
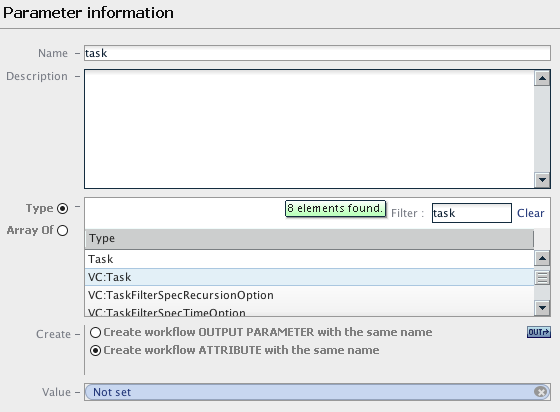
Click on the scriptable box "OUT" tab. Create a new attribute named task of type VC:Task
Paste the code from Onyx and perform the following changes:
- Changing "managedObject" by "vm".
- start the script with "task = ". This will allow us set our task attribute with the task returned by the createSecondaryVM_task method.
You should get the following:

To make sure any other operation is started on this VM before HA is turned on we will wait for the task to complete. There is an action in the library for that. Drag and drop an action from the palette to the schema. Search for waitTask. Select vim3WaitTaskEnd (NB the vim3 name was kept to ease portability of workflows that were developed for older version of the vCenter plug-in).

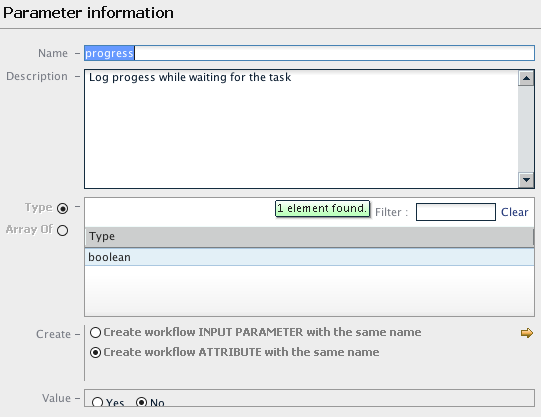
This action need to be provided with some input parameters. Click on the "IN" tab and set the progress input by creating a boolean attribute set to "no"
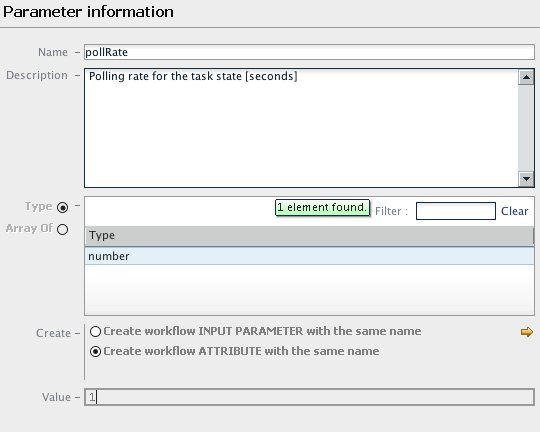
Set the pollRate with a number attribute set to "1".
You should now have the following:

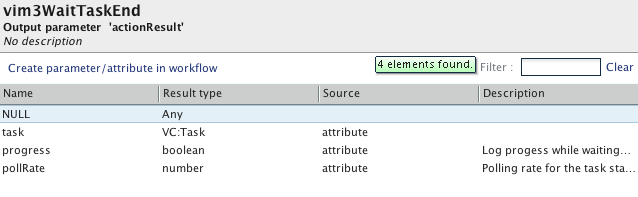
Now we need to set the output of the action. Click on the "OUT" tab. Since we will not need the result of the action select "NULL". Selecting NULL allows to avoid out parameter not linked warnings during the workflow validation.
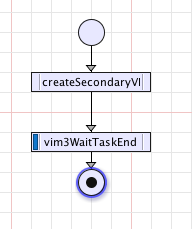
Adjust the process flow by linking boxes and adding and end as below.
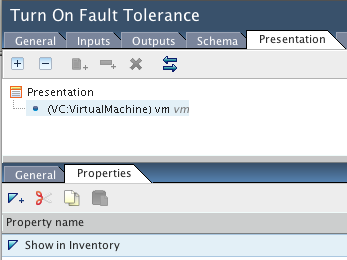
The workflow is ready. Let's improve its usability ! In the Presentation tab click on the vm input. Then click on its properties tab. Add the property "Show in inventory".
Save and close the workflow.
Go in the vCO preferences. Click on inventory and check the following option.
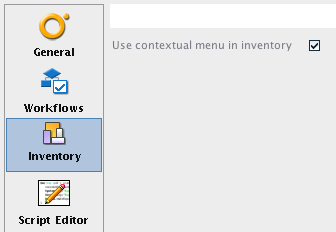
Click on the vCO inventory tab. Drill down from the vCenter icon to the VM you want and right click it. The following contextual menu will appear showing "Turn On Fault Tolerance".

Submit the workflow. That should set your VM in fault tolerance.
Creating an action
Now that we have tested the functionality it is best practice to have small scripts returning a single object stored in the library as an action.
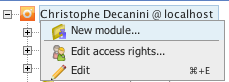
Create a new action module by right clicking on the action root and selecting "new Module".
It is good practice to call it with your reverse company domain name followed by your department followed by subcategories. This category and the other one you will be creating will be a good way to sort your actions and to differentiate them from the vCO library actions.

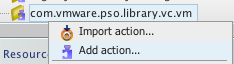
Click on the newly created category. Right click / add action.
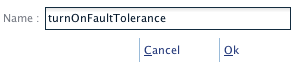
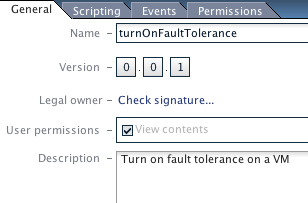
Since we had a hard time finding createSecondaryVm let's call the action turnOnFaultTolerance
As done for the workflow add an input parameter of type "VC:VirtualMachine"
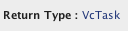
You can see that by default an action has a void return type. Click on the void to change the return type.

Select VC:Task
In the script type in the following:

An action is a function and a function has a single output it returns. The return keyword needs to be used. I also have removed the "null" parameter we had in the workflow since when not passing a parameter empty brackets are a valid syntax. As a best practice set an initial version and a description.
As a final test you can get back to your workflow. Delete the scriptable box. Drag and drop an action from the palette to the schema. Select turnOnFaultTolerance.

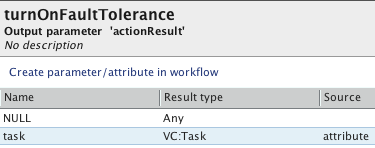
The action in parameter auto binding will have linked the input parameters to the existing one for you. This is not the case for the output parameter. Click on the OUT tab and set actionResult to the taks attribute.

Validate your workflow.
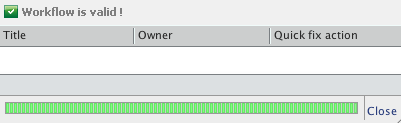
Congratulations you have a working workflow using a newly created action.
Next time you will be using the API explorer for faultTolerance you will find the following:
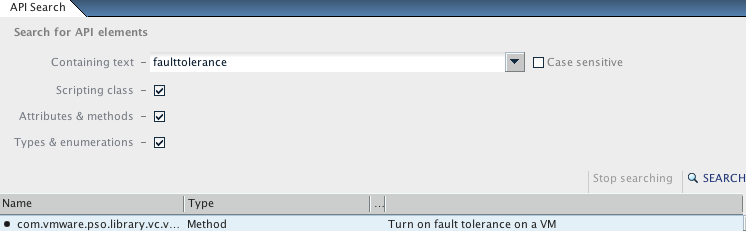
You have effectively expanded your vco library with a new action ready to be used in workflows.
